Installation Process
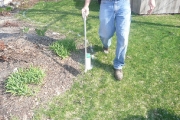
- Step 1 – First a Creative Borders representative will walk over the job with you while marking the design layout with spray paint. We can follow an existing edge or create something new. Any design changes can be made at that time.
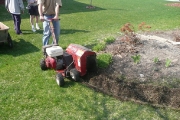
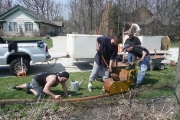
- Step 2 – Next, we use a small trenching machine to cut a nine inch wide trench approximately two inches deep along the spray paint markings. The dirt from the trenching machine is discharged on the birm side of the trench. We will also remove and dispose of any existing edging.
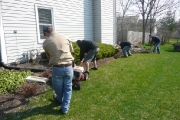
- Step 3 – We then clean the trench with shovels and make sure it is level. We can either leave the dirt in the birm and the homeowner pushes it back against the border after one week or we can dispose the dirt somewhere else on the property.
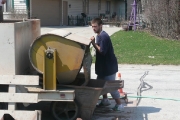
- Step 4 – While the trench is being cleaned up, the mixing of the concrete is taking place in the street. We custom mix each batch of concrete to match the color you have chosen. Our color is mixed right into the concrete.
- Step 5 – Once the first batch of concrete is ready, the extrusion process takes place. The concrete is wheel barrowed into your yard and is shoveled into the concrete extruder. The extruder shapes the concrete and buries an 1/8″ steel cable within the concrete adding strength. Each batch of concrete covers about 18 feet of border, so there is always a continuous flow of concrete being wheel barrowed into the yard.
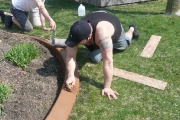
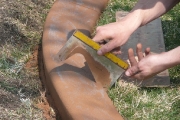
- Step 6 – The Creative Borders finisher will then trowel and stamp the border. The two tone release agent is applied to the stamp if you so desire.
- Step 7 – Expansion joints are cut half way through the wet concrete every 30 inches to control cracking. If the border breaks at any of these control joints, the steel cable will keep each section in line with the next. The installers will then clean up any concrete that may have fallen into the grass and clean up any excess concrete along the edge of the border.
We pride ourselves in yard clean up and customer satisfaction.
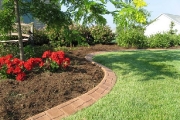
Enjoy your new border!

